Migration
Migrate Codebase
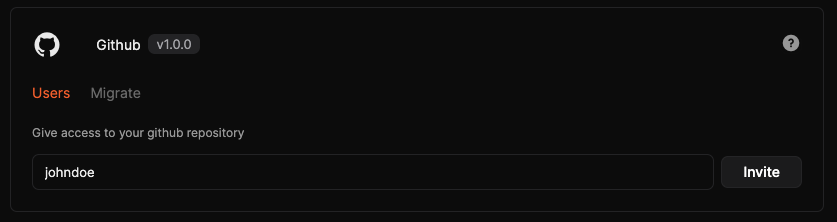
- Grant Access: Invite your personal GitHub account to the project to access the repository.
- Clone the Repository: Use the following command to clone the repository to your local machine:
git clone https://github.com/your-org/your-repo.git
cd your-repo
- Push to Personal Organization: Change the remote repository to your personal GitHub account.
git remote set-url origin https://github.com/your-personal-org/your-repo.git
git push -u origin main
Migrate Hosting to Heroku
Connect Github to Heroku
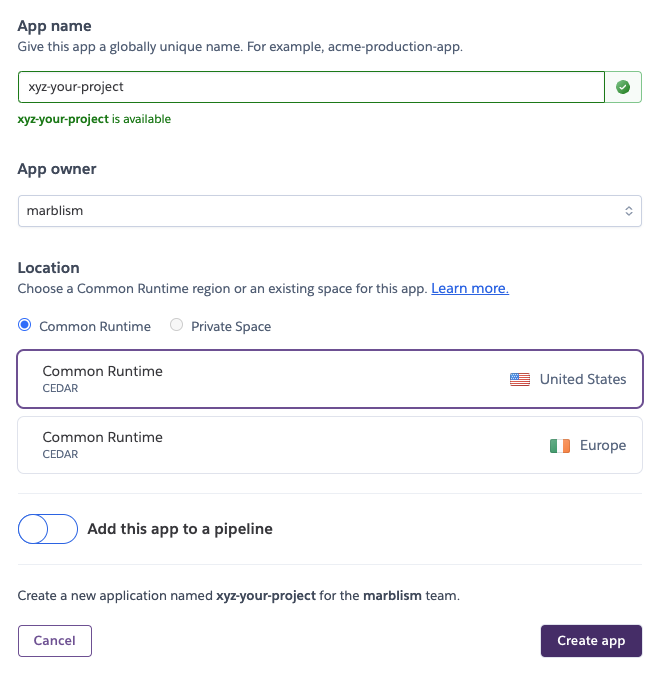
- Sign up on Heroku and create a new application.
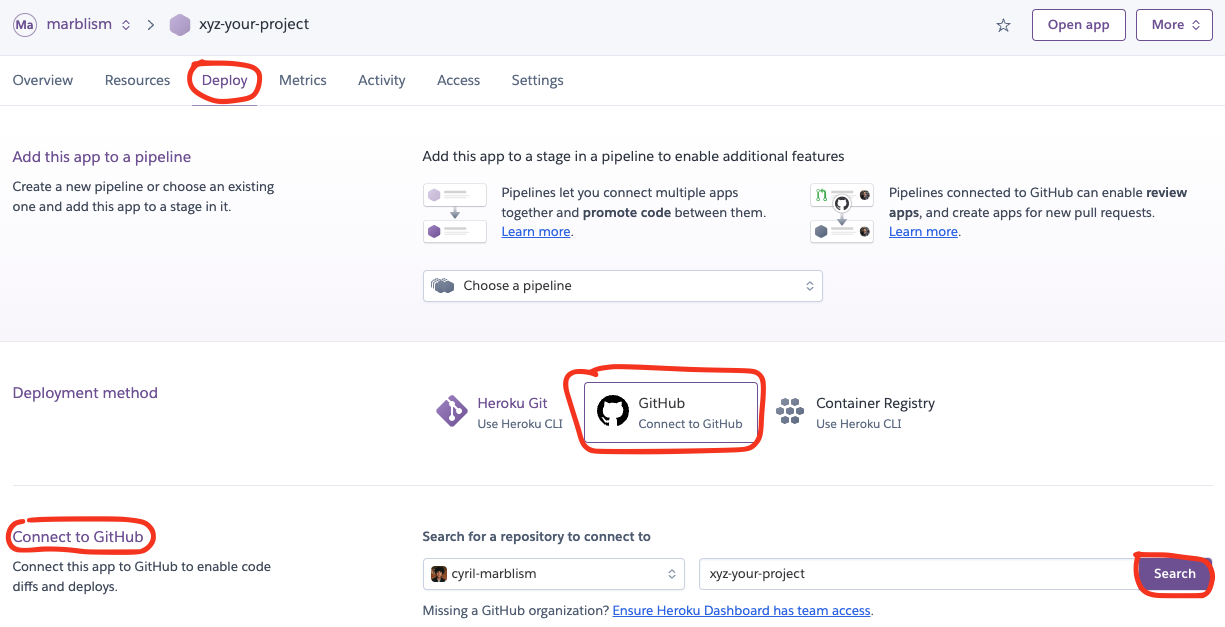
- Navigate to the "Deploy" tab in Heroku, select "GitHub" as the deployment method, and connect your repository.
- Ensure your package.json specifies the required Node.js and pnpm versions:
"engines": {
    "node": ">=20.0.0",
    "pnpm": "9.9.0"
  },
- Update your package.json scripts:
"start": "pnpm run database:sync:dev && node ./build/server/index.js",
"build": "remix vite:build && pnpm run crud:sync",
- Once set up, you can deploy your application with a single click.

Database PostgreSQL
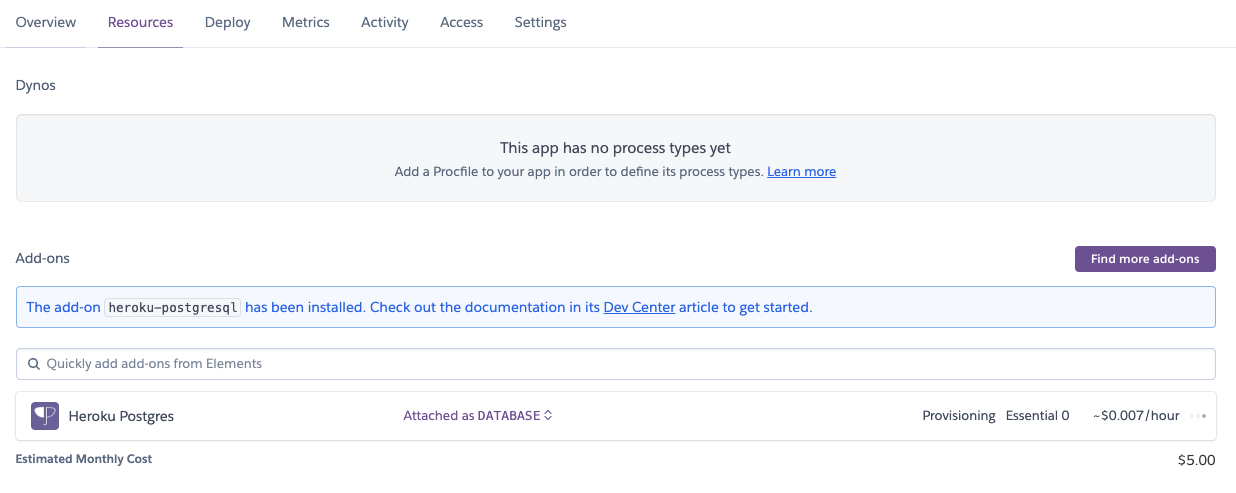
- Use the Heroku PostgreSQL add-on to provision a database for your application.
Environment Variables
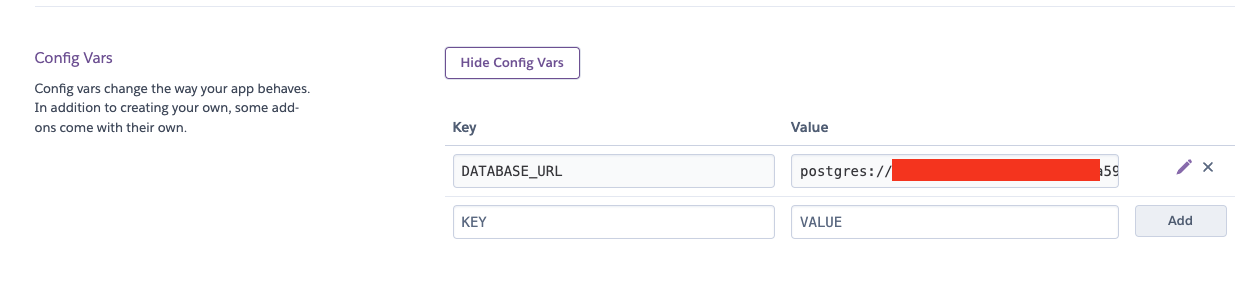
- After adding PostgreSQL, a DATABASE_URL will appear in your Heroku app settings under
Config Vars.
Important: Your application is configured to use
SERVER_DATABASE_URL. Update your code to useDATABASE_URLinstead.
- Include all necessary environment variables that were previously stored in Marblism.
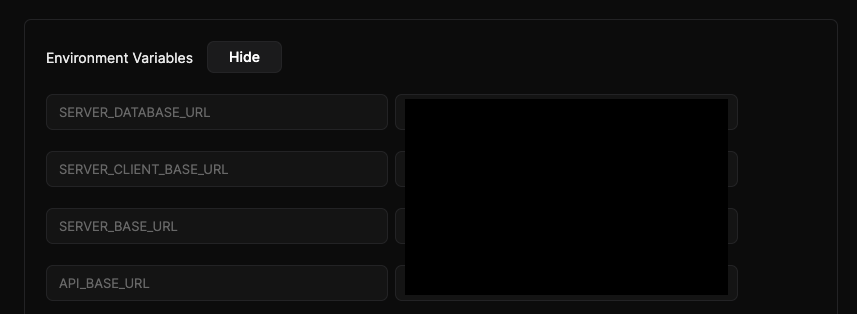
Required Variables
NODE_ENV=production
DATABASE_URL=url-from-postgresql-addon
API_BASE_URL=https://your-app-url
SERVER_BASE_URL=https://your-app-url
SERVER_CLIENT_BASE_URL=https://your-app-url
SERVER_AUTHENTICATION_SECRET=your-secret
SERVER_AUTHENTICATION_SECRET=your-secret
Note: Click the
Open Appbutton in Heroku to view the default URL Heroku assigns for your base URLs.
Important:
- If you were using Marblism for file storage, stop using
SERVER_UPLOAD_MARBLISM_API_KEYand migrate to an alternative such as AWS S3 which is by default supported by your app.
Variables for AWS S3 Bucket
SERVER_UPLOAD_AWS_ACCESS_KEY=your-aws-access-key
SERVER_UPLOAD_AWS_SECRET_KEY=your-aws-secret-key
SERVER_UPLOAD_AWS_BUCKET_PRIVATE_NAME=your-private-bucket-name-for-sensitive-files
SERVER_UPLOAD_AWS_BUCKET_PUBLIC_NAME=your-public-bucket-name-for-non-sensitive-files
Useful
If you need a more advanced deployment setup, here are the nginx.conf and Dockerfile we used.
// nginx.conf

map $http_upgrade $connection_upgrade {
    default upgrade;
    '' close;
}

server {
    listen 80;
    client_max_body_size 100M;

    location / {
        proxy_pass http://127.0.0.1:8099;
        proxy_http_version 1.1; # Ensure HTTP/1.1 is used to support WebSocket
        proxy_set_header Upgrade $http_upgrade; # Necessary for WebSocket
        proxy_set_header Connection $connection_upgrade; # Necessary for WebSocket
        proxy_set_header Host $host;
        proxy_set_header X-Real-IP $remote_addr;
        proxy_set_header X-Forwarded-For $proxy_add_x_forwarded_for;
        proxy_set_header X-Forwarded-Proto $scheme;
    }

    location /app/health {
        return 200 'healthy\n';
        add_header Content-Type text/plain;
    }
}
// Dockerfile

# Use the Node.js 20.11.0 Alpine base image
FROM node:20.11.0-alpine

# PYTHON
RUN apk add --no-cache \
  python3 \
  py3-pip \
  py3-setuptools \
  make \
  g++ \
  krb5-dev \
  zeromq-dev \
  libsodium-dev \
  krb5-libs \
  nginx

RUN npm install -g pnpm

WORKDIR /usr/src/app

COPY . .

RUN pnpm install

RUN pnpm run build

RUN mkdir -p /usr/src/app/assets

COPY nginx.conf /etc/nginx/http.d/default.conf

RUN pnpm prune --prod

ENV NODE_ENV=production
ENV WEB_PORT=8099
ENV SERVER_PORT=3099

EXPOSE 8099
EXPOSE 3099
EXPOSE 80

# Nginx logs
# RUN ln -sf /dev/stdout /var/log/nginx/access.log \
#     && ln -sf /dev/stderr /var/log/nginx/error.log

ENTRYPOINT sh -c '\
  pnpm run start & \
  nginx -g "daemon off;" \
'