Prompt Best Practices
A well-crafted prompt can make a world of difference.
We've put in countless hours to figure this out, so here's our advice to help you get the best out of your app.
Project Description Prompt
Describe the features
❌ Tweetx is a social application where users can post tweets.
✅ Tweetx is a social application where users can:

- Post tweets
- Like tweets
- Comment on tweets
- Re-tweet a tweet
- Follow each other
Describe the data model
❌ Hasana is a project management app for users to create to-do list.
✅ Hasana is a project management app where users can:

- Create task (content, expectedDate, category, status, assignedUser)
- Create a workspace (name, logoPicture, description)
- Each user can have a role in a workspace: admin or editor or read-only
- Admin can invite other users to a workspace
List the pages
❌ Swimbnb is a pool-sharing marketplace.
✅ Swimbnb is pool sharing marketplace with these different pages:

- Pool listing where users can see all available pools
- Create listing for pool-owners to list their pools
- Booking confirmation for users to confirm their bookings
- My listings for pool-owners to manage all their listing
- Pool detail to access a specific pool
Workspace Prompt
Once you've created your app, you can prompt the AI to make changes on the fly to your app in the Workspace.
Our recommendations for prompting:
Make incremental changes
Break down your features into smaller prompts is more efficient.
❌ When I click on "New Project", open a modal asking me for the title of the project.
Add an integration to Asana and create the project on Asana.
✅ When I click on "New Project", open a modal asking me for the title of the project.
Upload mockup
Upload a mockup that shows the main content of the page. Make sure to exclude any top navigation bar or left sidebar in your picture. You can upload a screenshot of a website or your own figma design for example.
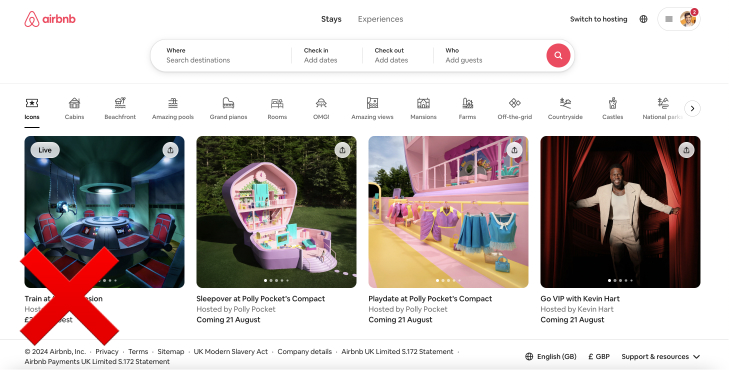
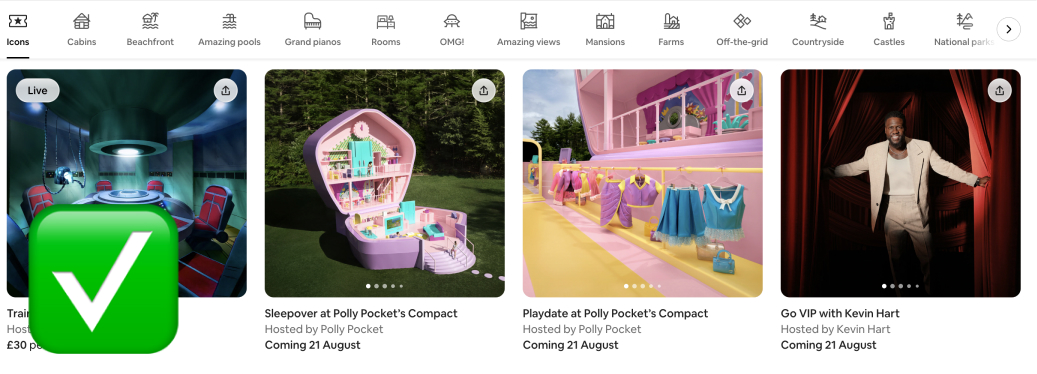
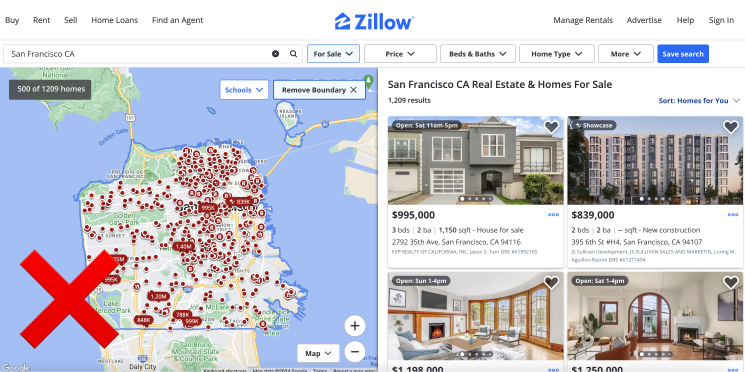
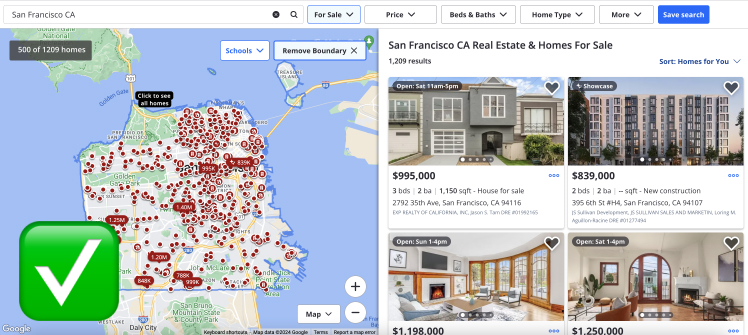
You can as well prompt something like "Create a property component that matches the component mockup" and give a screenshot to create an individual component.
Be super specific
❌ Create a form
✅ Create a form with the following fields:
- job title
- expected salary (number)
- upload input for the CV
Provide details to fix bugs
❌ It doesn't work, fix it!
✅ When I click on "Save", I've got the following error message:
"Unable to save the information".
It can help the AI if you include the logs on the app (under the Logs tab)
Use the right attributes
Let's say in your data model, you have a Task model with an attribute status
❌ When a user click on "done":
- change the state of the task from 'in progress' to 'done'.
✅ When a user click on "done":
- change the status of the task from 'in progress' to 'done'.
Open the ./models folder in the Code Editor to find the correct names of your data model.